
Welcome to the world of nail art, where creativity meets self-expression. For those new to nail designs, getting started can seem daunting. But with the right guidance, anyone can master the basics and beyond.
Learning simple nail designs is not just about aesthetics; it’s a skill. It can boost confidence and provide a creative outlet. This guide is designed to walk beginners through the fundamental techniques and tips necessary to start their journey in nail art.
By starting with the basics and gradually building skills, beginners can enjoy the process of learning. They can experiment with different nail art techniques.
Key Takeaways
- Understanding the basics of nail art
- Learning simple nail designs for beginners
- Tips for gradually building nail art skills
- The importance of practice in mastering nail designs
- Exploring different techniques and tools in nail art
Essential Tools and Supplies for Nail Art
To make stunning nail designs, start with the basics. You need a good nail polish collection and the right nail tools.
First, build a basic nail polish collection. It should have various colours. Include neutrals, brights, and pastels. Also, have white and black polish for detailed work.
Basic Nail Polish Collection
A good nail polish collection is key. It should have:
- Different colours for all occasions and styles
- Neutrals like beige, nude, and pale pink for daily looks
- Brights and pastels for bold designs
- White and black polishes for French manicures and detailed designs
Must-Have Tools for Beginners
Beginners need the right nail tools. Essential tools include:
- Nail clippers and nail files for shaping
- A cuticle pusher or orange stick for cuticle care
- Nail buffers for smoothing the nail surface
- A base coat and top coat for a professional finish
Optional Accessories to Enhance Your Designs
After getting the basics, explore optional nail art supplies to improve your designs. These include:
- Nail stickers and decals for extra detail
- Rhinestones and studs for more glamour
- Nail art brushes for detailed designs
Start with these essentials and add more nail art supplies as you go. You’ll soon be making beautiful nail designs.
Preparing Your Nails: The Foundation for Beautiful Designs
Great nail art starts with proper nail preparation. Make sure your nails are clean, shaped right, and have a base coat. This is key for a top-notch finish.
Proper Nail Cleaning and Shaping
Begin by cleaning your nails with a gentle cleanser. This removes oils and residue. Then, use a nail file to shape them as you like. Remember to file in one direction to avoid damage.
- Use a nail buffer to gently buff the surface of your nails.
- Push back your cuticles carefully with a cuticle pusher.
Base Coat Application Techniques
Apply a thin layer of base coat to protect your nails and help the polish stick. Use smooth, even strokes to cover the nail.
Tip: Let the base coat dry fully before you start with your nail polish.
Creating the Perfect Canvas
A well-prepared nail surface is vital for stunning nail designs. Follow these steps to get a smooth, even surface for your art.
By focusing on nail prep, you’re ready for amazing nail designs. Whether you’re new or experienced, a solid foundation is crucial for professional-looking results.
Simple Nail Designs for Complete Beginners
Simple nail designs are great for beginners. They need a few tools and skills. This makes them easy for anyone new to nail art.
One-Colour Polish Perfection
A one-colour polish design is simple and classic. It involves using one colour on all nails. Start with a base coat, then apply one or two coats of polish. Finish with a top coat for shine.
Tips for a flawless finish: Choose polish that’s not too thick or too thin. Let each coat dry fully before adding the next.
Basic French Manicure
A French manicure is a timeless choice. It paints the nail tip white and the rest a neutral colour. You’ll need white polish, a neutral polish, and nail guides or stickers.
Step-by-Step Guide: Apply a base coat, then a neutral polish on the whole nail. Use guides for the white tip. Finish with a top coat.
Simple Polka Dots and Stripes
Polka dots and stripes are fun and simple. For dots, use a dotting tool or a toothpick. For stripes, use guides or tape for horizontal or vertical lines.
| Design | Tools Needed | Skill Level |
|---|---|---|
| One-Color Polish | Base coat, polish, top coat | Beginner |
| French Manicure | Base coat, neutral polish, white polish, nail guides | Beginner |
| Polka Dots and Stripes | Dotting tool or toothpick, striping tape or nail guides | Beginner |
Mastering Ombre Nail Techniques
Ombre nail techniques are a big hit in nail art. They create a gradient effect that makes any manicure pop. This method blends two or more colours smoothly, giving a unique look.
Sponge Technique for Gradient Effects
The sponge technique is a favourite for ombre effects. You’ll need a makeup sponge, nail polish, and a base coat. First, apply a base coat and let it dry.
Then, put a bit of polish on the sponge and dab it on your nail. Keep adding different colours to get the gradient you want.
Two-Tone Ombre for Beginners
For newbies, a two-tone ombre is a good place to start. It uses two colours for a smooth transition. Start with the lighter colour as a base coat.
Next, use a sponge or brush to add the second colour. Start at the tip and work down.
Troubleshooting Common Ombre Issues
Common problems with ombre include uneven colours and polish bleeding. To fix this, make sure your sponge isn’t too wet. Use slow-drying polish to help.
If you see bubbles, just smooth them out with a brush.
| Ombre Technique | Description | Tips |
|---|---|---|
| Sponge Technique | Uses a makeup sponge to dab polish onto the nail | Use a small amount of polish to avoid a messy application |
| Two-Tone Ombre | Involves using two colours for a gradual transition | Start with a light base coat and gradually add the second colour |
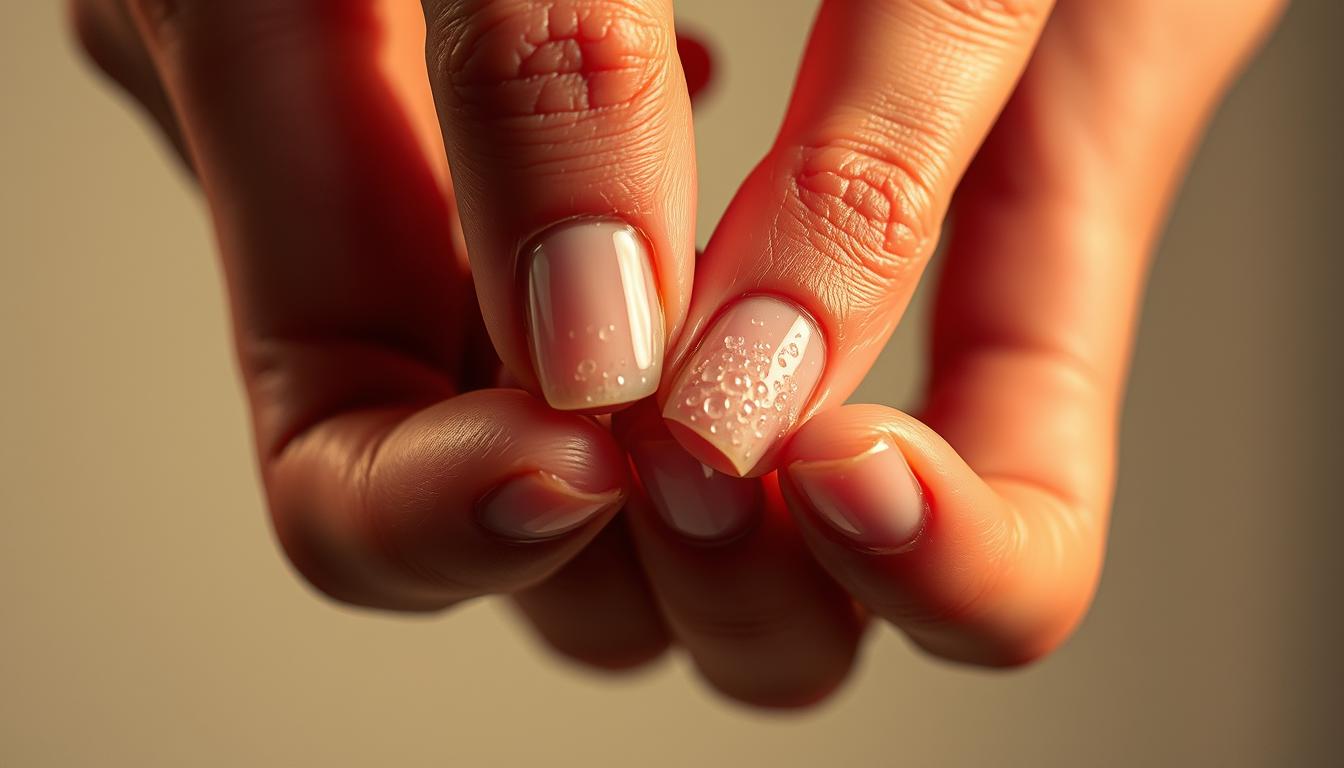
Creating Stunning Glitter Manicures
Creating a stunning glitter manicure is easier than you think. With the right techniques and a bit of practice, you can achieve a salon-quality finish at home.
Glitter manicures are a great way to add some extra glamour to your nail art. To get started, you’ll need a few essential supplies. These include a glitter polish of your choice and a top coat to seal in the glitter.
Full Glitter Coverage Techniques
For full glitter coverage, start with a thin layer of clear base coat to protect your nails. Then, apply one to two coats of glitter polish, depending on how intense you want the glitter to be. Finish with a top coat to seal in the glitter and add shine.
Glitter Accent Nails
For a more subtle look, try using glitter polish on just one or two accent nails. This adds a touch of sparkle to your manicure without overwhelming the overall design.
Glitter Gradient and Ombre Effects
To create a glitter gradient or ombre effect, apply glitter polish to just the tip of your nail or gradually build up the glitter from the cuticle to the tip. This creates a beautiful, multi-dimensional effect.
With these techniques, you can create a stunning glitter manicure that’s sure to turn heads.
Trending Nail Designs for Beginners to Try
Starting with nail art can be fun and stylish. Begin with simple techniques that are easy to learn. This will help you get better with practice.
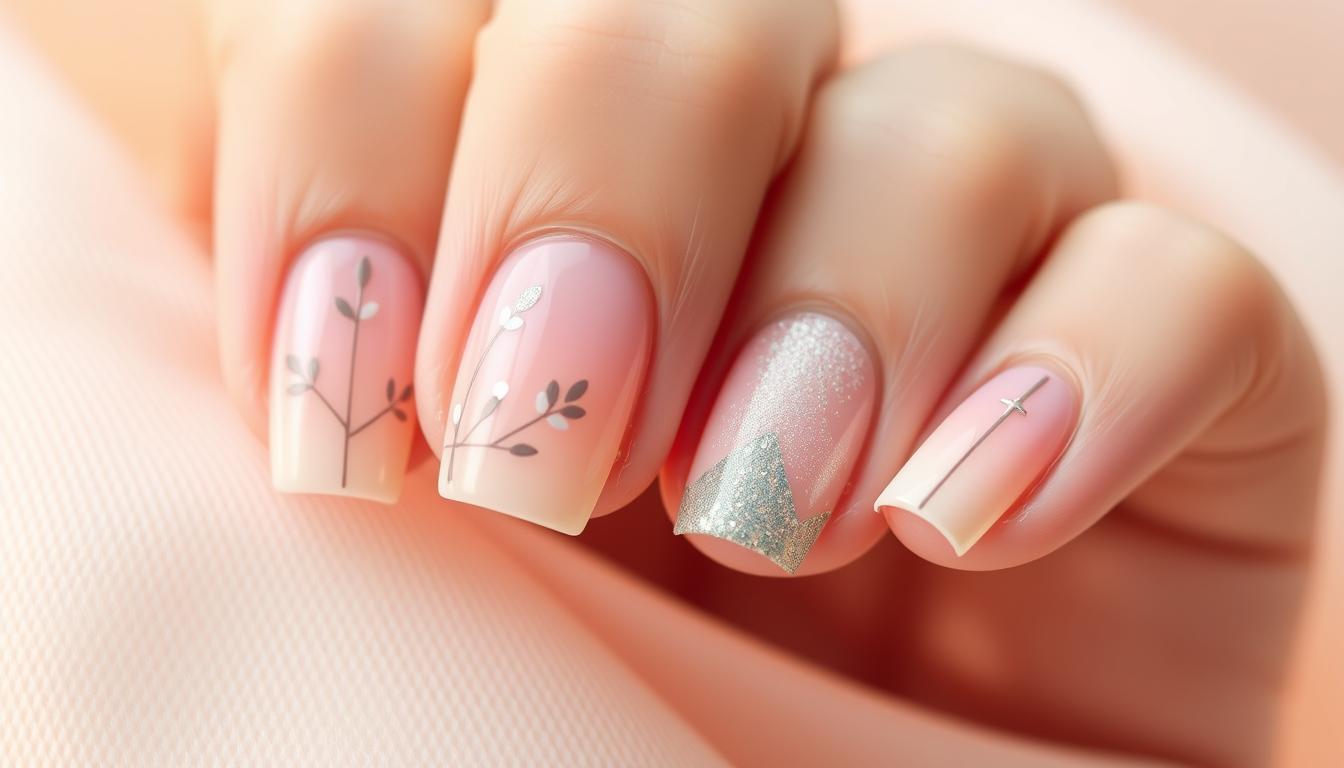
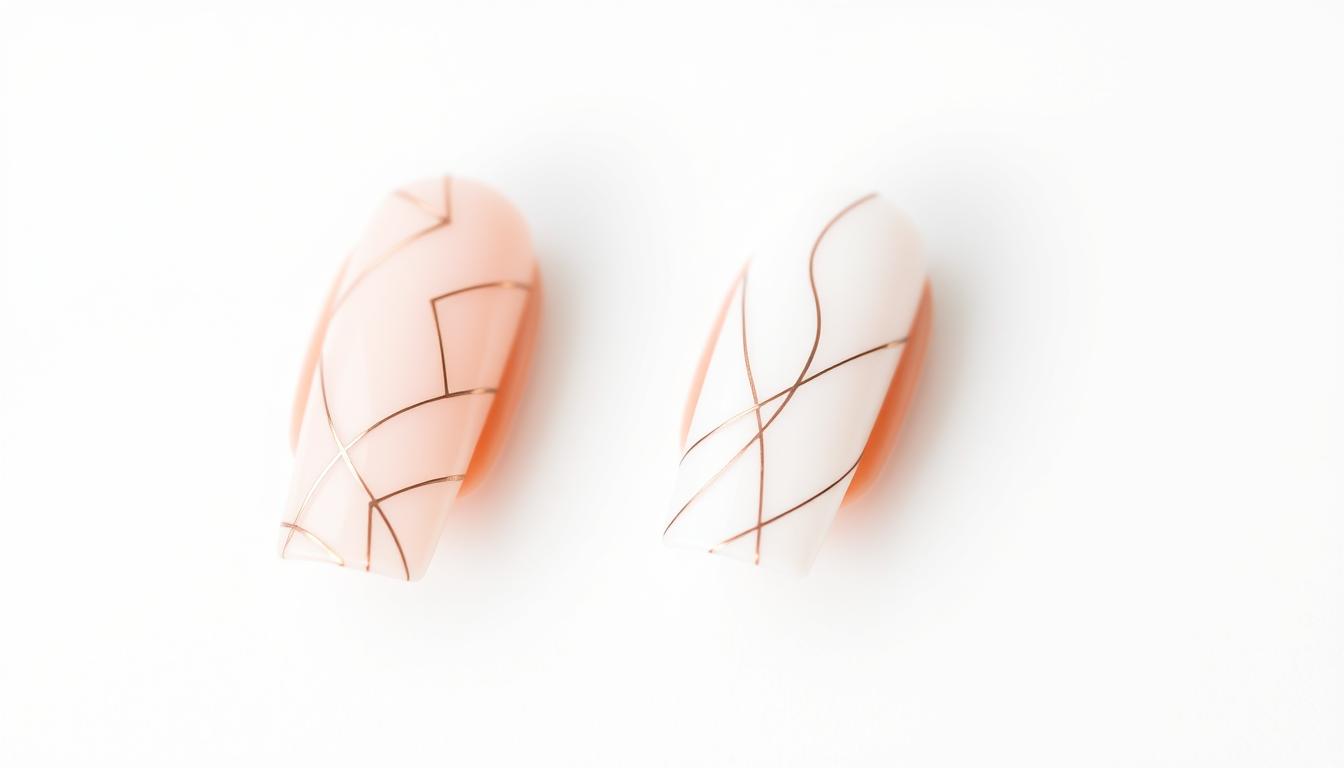
Minimalist Line Art
Minimalist line art is a popular trend. It uses simple lines on the nail with polish or pens. It’s great for beginners because it’s easy and doesn’t need much.
Negative Space Designs
Negative space designs are easy to try. They leave parts of the nail bare. You can use guides or stickers to get this look.
Marble and Water-Inspired Effects
Marble and water-inspired designs are also trending. You can use water marbling or special polish to get these effects.
| Trend | Description | Skill Level |
|---|---|---|
| Minimalist Line Art | Simple lines created with nail polish or nail art pens | Beginner |
| Negative Space Designs | Leaving parts of the nail bare for a “negative space” effect | Beginner |
| Marble and Water-Inspired Effects | Creating marble or water-inspired effects using various techniques | Beginner to Intermediate |
These designs are perfect for beginners. With a bit of practice, you can create amazing nail art.
Using Nail Accessories and Embellishments
Enhance your nail designs with the right nail accessories and embellishments. These add elegance and sophistication, making your manicure pop.
Working with Nail Stickers and Decals
Nail stickers and decals are perfect for adding detailed designs. Clean your nail first, then peel and place the sticker. Use a nail cutter or cotton swab to fix air bubbles.
For a lasting finish, apply a top coat. This keeps the sticker from peeling off fast.
Applying Rhinestones and Studs
Rhinestones and studs bring glamour to your nails. Use nail glue to stick them on. A dotting tool or toothpick helps place them correctly. Hold until the glue sets.
Incorporating Foils and Transfer Papers
Foils and transfer papers create striking designs. Apply adhesive, then place the foil or paper on your nail. Press gently with a cotton swab or nail cleaner.
| Embellishment | Application Method | Tips |
|---|---|---|
| Nail Stickers | Peel and stick | Apply a top coat for durability |
| Rhinestones | Nail glue | Use the dotting tool for precision |
| Foils | Adhesive and press | Use a cotton swab for application |
Troubleshooting Common Nail Design Mistakes
Getting a perfect nail design can be tough. But knowing how to fix common mistakes makes it easier. Even pros face issues, but with the right steps, you can fix them and get a pro look.
Fixing Smudges and Smears
Smudges and smears are common mistakes. To fix them, use a small brush with nail polish remover to clean up around your nail. For tough smudges, a cotton swab with remover works well. Nail expert Emma Taylor advises, “Be patient when fixing smudges; take your time for a clean finish.”
Dealing with Bubbles in Polish
Bubbles in Polish can mess up your design. To prevent them, roll the polish bottle in your hands before applying. This mixes the formula without air. If bubbles appear, use a toothpick or needle to pop them before they dry.
Salvaging Uneven Application
Uneven polish can be fixed with a clean-up brush and remover. For an even finish, use a polish with a synthetic-bristled brush. These brushes help polish go on smoother.
Learning these fixes can greatly improve your nail design skills. You can get salon-quality results right at home.
Finding Inspiration for Your Next Nail Designs
Nail design inspiration is everywhere, from the seasons to social media. To make unique and stylish nails, knowing where to find inspiration is key.
Social Media Platforms for Nail Art Ideas
Instagram and Pinterest are full of nail art inspiration. Use hashtags like #nailart or #naildesigns to find lots of designs. Many nail artists and influencers share their work, giving you endless ideas.
Seasonal and Occasion-Based Inspiration
Seasons and special occasions offer great inspiration. For holidays, think red and green for Christmas or pastel colours for Easter. Summer calls for bright and bold colours.
Adapting Professional Designs for Beginners
Don’t worry if a design looks hard. You can make it simpler by using similar colours or techniques. The goal is to keep the design’s spirit, but make it easier for you.
| Inspiration Source | Description | Skill Level |
|---|---|---|
| Social Media | Platforms like Instagram and Pinterest | Beginner |
| Seasonal Themes | Holiday and seasonal colours | Intermediate |
| Professional Designs | Adapt complex designs to your skill level | Advanced |
Conclusion
This guide has given you the basics to start your nail art journey. We’ve covered everything from tools and supplies to the latest designs. You now know how to create stunning nail art.
Learning techniques like ombre and glitter manicures is key. Using nail accessories and avoiding common mistakes will help you grow. Finding inspiration is also important for improving your skills.
As a beginner, practice and patience are crucial. The world of nail art is vast, and there’s always more to learn. With the basics down, you’re ready to create nail designs that show off your personality.
Now, it’s time to use what you’ve learned. Start with simple designs and then try more complex ones. Remember, the more you practice, the better you’ll get. You’ve got the foundation; now it’s time to make nail art your own.
FAQ
What are the essential tools for creating nail designs?
You’ll need a basic nail polish collection, a nail cleanser, and nail clippers. Also, a cuticle pusher and a nail art brush are key. Look for brands like Essie, OPI, and Sally Hansen for a wide range of colours and finishes.
How do I prepare my nails for a nail design?
Begin by cleaning and shaping your nails. Use a nail cleanser to remove oils and residue. Then, shape your nails with clippers and a file. Finish with a base coat for a smooth surface.
What is the best way to achieve a smooth ombre effect?
For a smooth ombre, use a sponge technique with gradual colour transitions. You can also use a makeup sponge or an ombre nail sponge. A slow-drying top coat helps achieve a smooth finish.
How do I fix smudges and smears in my nail design?
To fix smudges, use a cotton swab with nail polish remover. For small mistakes, a nail polish corrector pen works well. For bigger smudges, you might need to redo the design.
Where can I find inspiration for my next nail design?
Look for inspiration on Instagram and Pinterest. These platforms are full of nail art from artists and beauty influencers. You can also explore seasonal and occasion-based themes for ideas.
How do I use nail stickers and decals effectively?
Apply a base coat and let it dry. Then, place the sticker or decal on your nail, pressing firmly. Seal with a top coat. Use a nail art brush to clean up edges or bubbles.
What are some common mistakes to avoid in nail design?
Avoid not cleaning and shaping your nails properly. Also, don’t use too much polish and wait for each coat to dry. Follow a step-by-step guide and take your time to avoid mistakes.

Kevin Smith is a talented beauty and nail designer based in New York, NY. Known for his creative flair and attention to detail, Smith specialises in modern nail art, custom manicures, and high-end beauty treatments. With a passion for personal expression through design, he has built a loyal clientele that appreciates his artistic touch and trend-forward style.