
The Ultimate Guide to Nail Art Design Tools: Transform Your Nails Like a Pro
Author Disclosure: With over 10 years of hands-on experience creating stunning nail designs, I’ve tested countless tools and techniques. As a certified nail artist and frequent contributor to Beauty & Style Magazine, I’ve helped thousands achieve salon-quality results at home.
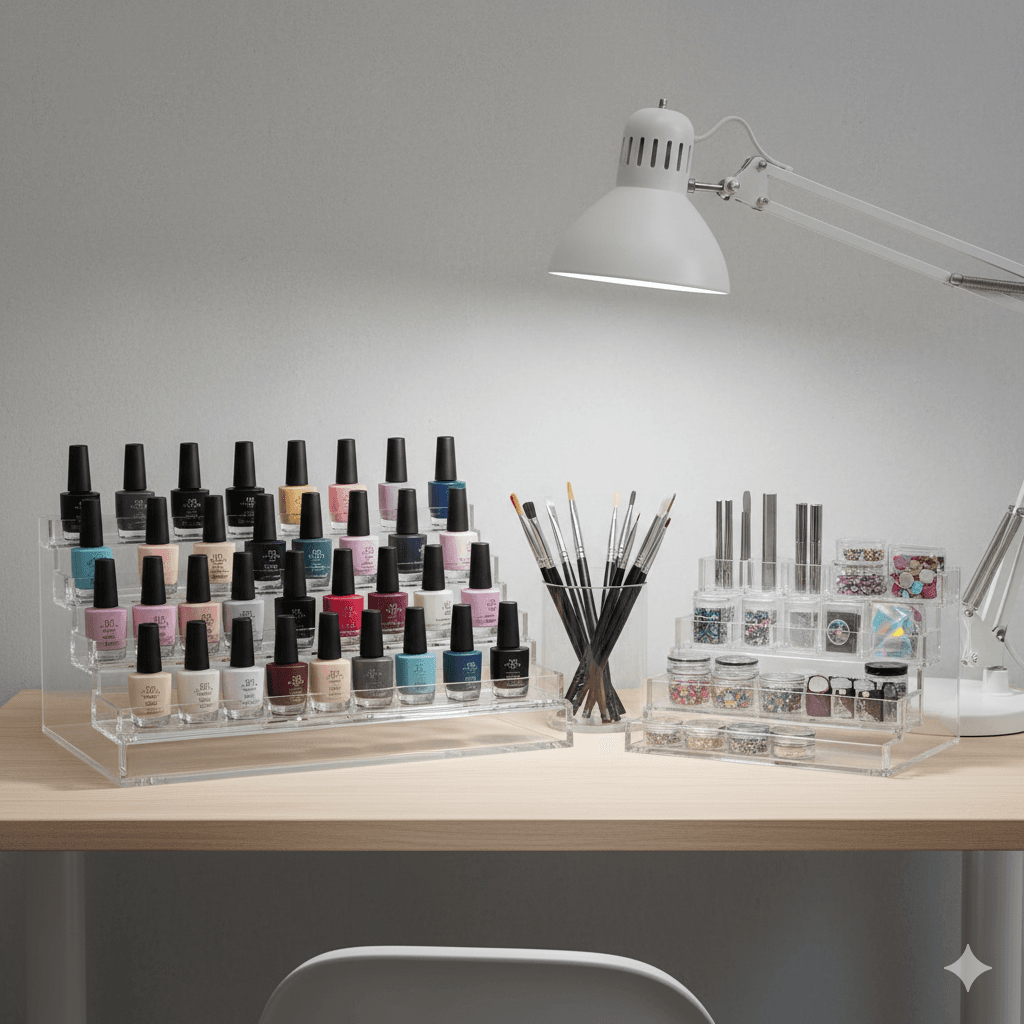
Whether you’re starting your nail art journey or looking to upgrade your toolkit, the right nail art design tools can transform ordinary manicures into extraordinary works of art. From precision brushes to innovative stamping plates, understanding these essential instruments is key to unleashing your creative potential and achieving professional-quality results at home.
This comprehensive guide explores everything you need to know about nail art design tools—from the basics every beginner needs to advanced techniques that will elevate your skills. You’ll discover budget-friendly options, quality assessment tips, maintenance secrets, and troubleshooting solutions that even seasoned professionals swear by.
Table of Contents
- Essential Nail Art Brushes: Your Creative Foundation
- Dotting Tools: Perfect Precision Every Time
- Nail Stamping Plates: Instant Professional Designs
- Nail Art Pens vs. Traditional Brushes
- Nail Stencils: Crisp Lines Made Simple
- Rhinestone Pickers: Adding Sparkle with Precision
- Striping Tape: Master Clean Lines
- Budget vs. Premium: Quality Assessment Guide
- Tool Maintenance and Care
- Safety and Hygiene Guidelines
- Troubleshooting Common Problems
- Building Your First Nail Art Kit
Essential Nail Art Brushes: Your Creative Foundation {#essential-brushes}
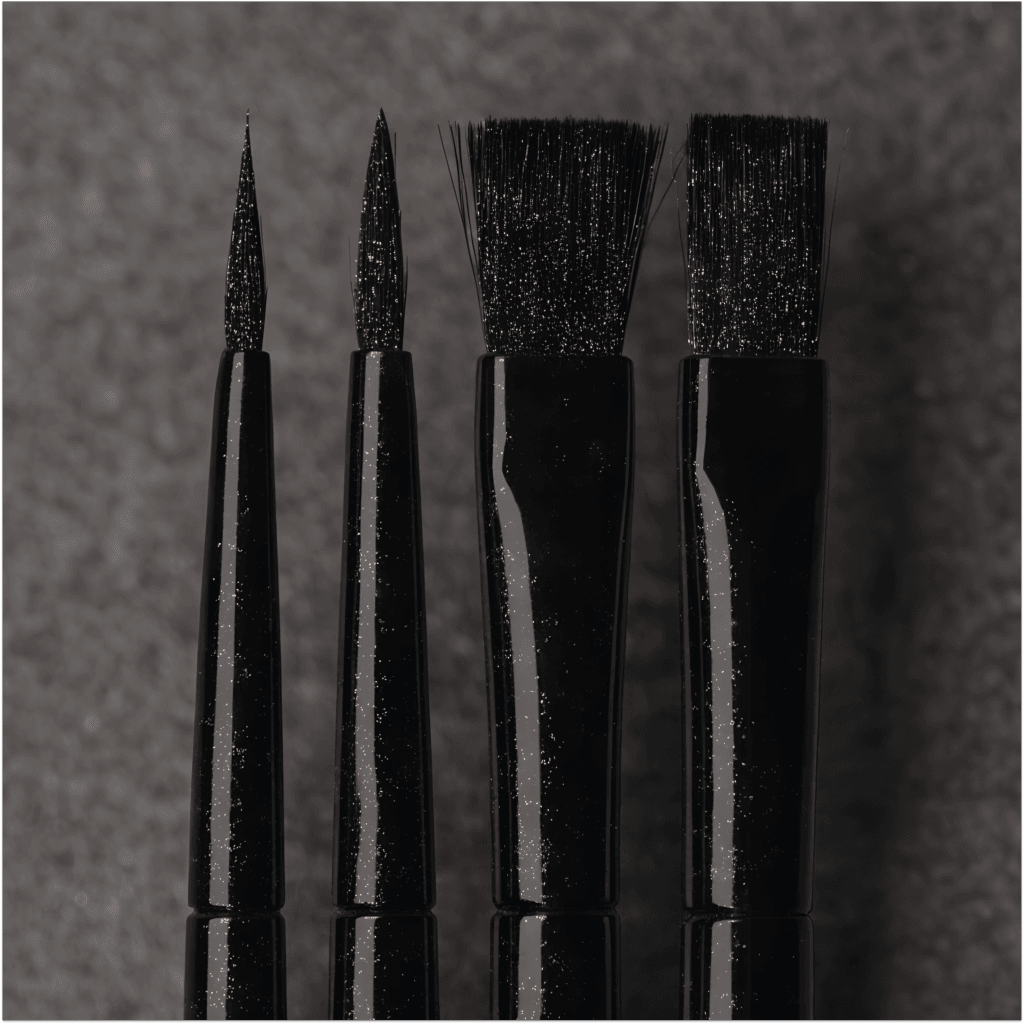
Nail art brushes form the backbone of any serious nail artist’s toolkit. Unlike regular polish brushes, these precision instruments allow you to create intricate details, smooth gradients, and flawless finishes that distinguish amateur attempts from professional results.
Types of Essential Brushes:
- Detail Brushes (0-2mm): Perfect for fine lines, tiny flowers, and delicate patterns. These ultra-thin brushes offer unmatched precision for intricate work.
- Liner Brushes (5-20mm): Available in multiple lengths, these brushes excel at creating flowing lines, French tips, and calligraphy-style designs. Longer brushes provide smoother curves while shorter ones offer maximum control.
- Flat Brushes: Ideal for one-stroke techniques, colour blending, and filling larger areas. The flat surface distributes polish evenly.
- Fan Brushes: Excellent for creating texture effects, applying glitter, and achieving gradient blends.
- Round Brushes: Versatile tools perfect for dots, flower petals, and 3D acrylic work.
Quality Indicators: Look for brushes with synthetic bristles that maintain their shape after cleaning. Kolinsky sable brushes, while pricier, offer superior liquid retention and durability. The ferrule should be double-crimped and rust-resistant to prevent bristle shedding.
Professional nail artist Maria Santos from Beverly Hills explains: “The difference between a $5 brush and a $30 brush isn’t just price—it’s precision, longevity, and the ability to create designs that truly wow clients.”
High-quality brushes can last years with proper care, making them a worthwhile investment for serious nail artists.
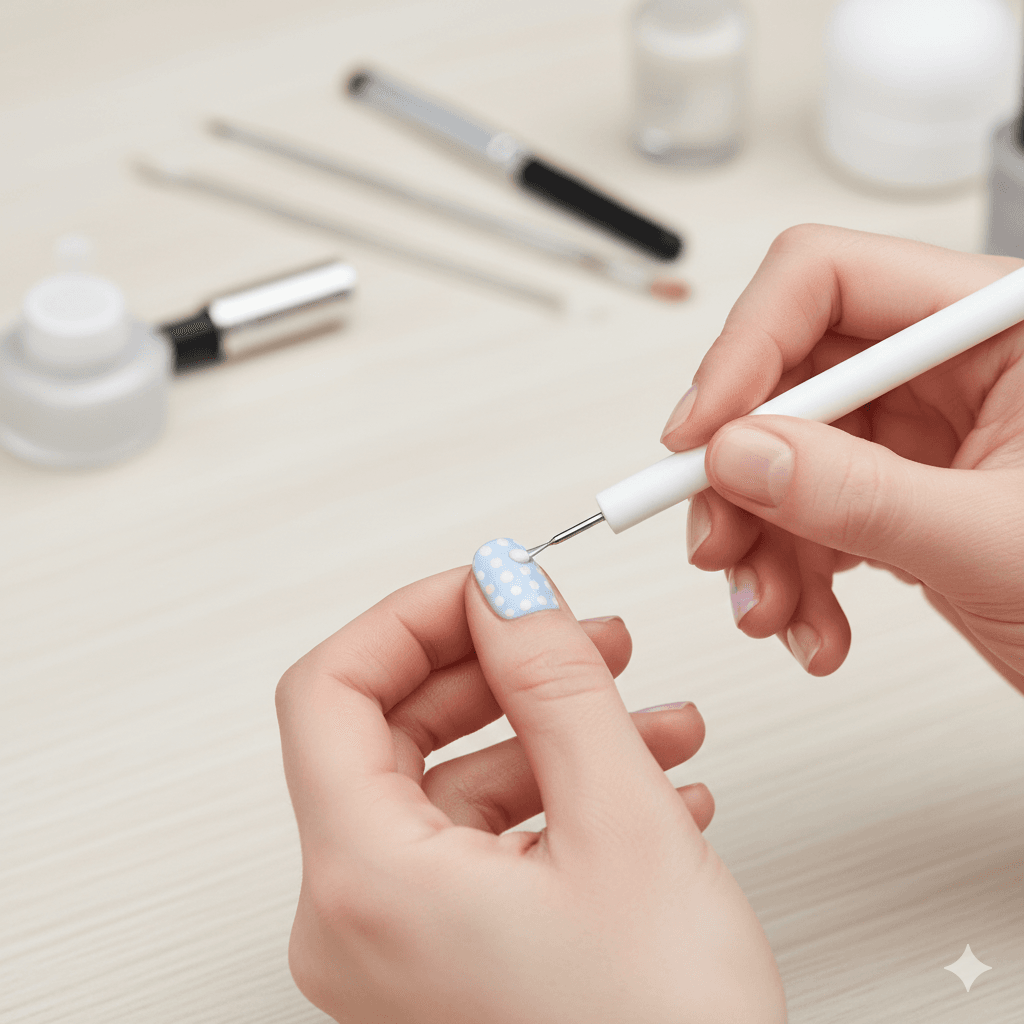
Dotting Tools: Perfect Precision Every Time {#dotting-tools}
Dotting tools might seem simple, but they’re incredibly versatile instruments that every nail artist should master. These double-ended tools feature different-sized ball tips that create perfect circles every time—something nearly impossible to achieve freehand.
Creative Applications:
- Basic Dots: Create polka dot patterns, galaxy effects, or simple accent designs
- Flower Centres: Add perfect centres to hand-painted flowers
- Gradient Effects: Blend colours seamlessly by dabbing between shades
- Rhinestone Placement: The sticky tip picks up gems and places them precisely
- Abstract Patterns: Create organic, flowing designs with varying dot sizes
Alternative Solutions: Don’t have dotting tools? Bobby pins, toothpicks, or ballpoint pen tips can serve as makeshift alternatives, though they won’t provide the same consistency or professional finish.
According to nail artist Jennifer Kim, “Dotting tools are the most underrated items in any nail kit. Once you master them, you’ll find yourself reaching for them in almost every design.”
Size Selection: Most sets include 5 different sizes ranging from 1mm to 5mm tips. This variety allows you to create detailed work or bold statement dots depending on your design vision.
Nail Stamping Plates: Instant Professional Designs {#stamping-plates}
Nail stamping revolutionised the nail art industry by making complex designs accessible to beginners. This technique uses etched metal plates to transfer intricate patterns onto nails with professional precision.
Essential Stamping Components:
- Stamping Plates: Metal plates with etched designs (typically 6.5cm x 12.6cm)
- Stamper: A Silicone or rubber tool that picks up and transfers designs
- Scraper: Removes excess polish from the plate
- Stamping Polish: Specially formulated for optimal transfer
Step-by-Step Process:
- Remove the protective blue film from the new plates
- Apply stamping polish over the desired design
- Scrape excess polish at a 45-degree angle
- Roll the stamper over the design to pick up the image
- Transfer to your nail within 15 seconds
Pro Tips for Success:
- Work quickly—polish dries rapidly on metal plates
- Use 100% acetone for plate cleaning (never on the stamper)
- Prime new stampers by washing with dish soap
- Practice the rolling motion rather than pressing down hard
The key to successful stamping lies in timing and technique. As stamping expert Sarah Chen notes, “The entire process from applying polish to transferring should take no longer than 15 seconds per nail.”
Nail Art Pens vs. Traditional Brushes {#pens-vs-brushes}
The debate between nail art pens and traditional brushes often confuses beginners. Each tool has distinct advantages depending on your skill level and design goals.
Nail Art Pens Advantages:
- Beginner-friendly: Similar to using a regular pen
- Consistent flow: Squeezable bottles control polish application
- All-in-one design: No need for a separate polish and brush
- Quick drying: Many formulas are designed for rapid setting
Traditional Brush Benefits:
- Versatility: Multiple brush types for different techniques
- Precision control: Better for detailed work and fine lines
- Polish variety: Compatible with any nail polish brand
- Professional results: Preferred by most nail artists for intricate designs
When to Choose Pens: Ideal for beginners, simple line work, or when working with limited space. The Hot Designs nail art pens receive positive reviews for their ease of use and included design guides.
When to Choose Brushes: Better for complex designs, colour mixing, and when you want maximum creative control. Professional artists consistently prefer brushes for their versatility and precision capabilities.
Nail Stencils: Crisp Lines Made Simple {#nail-stencils}
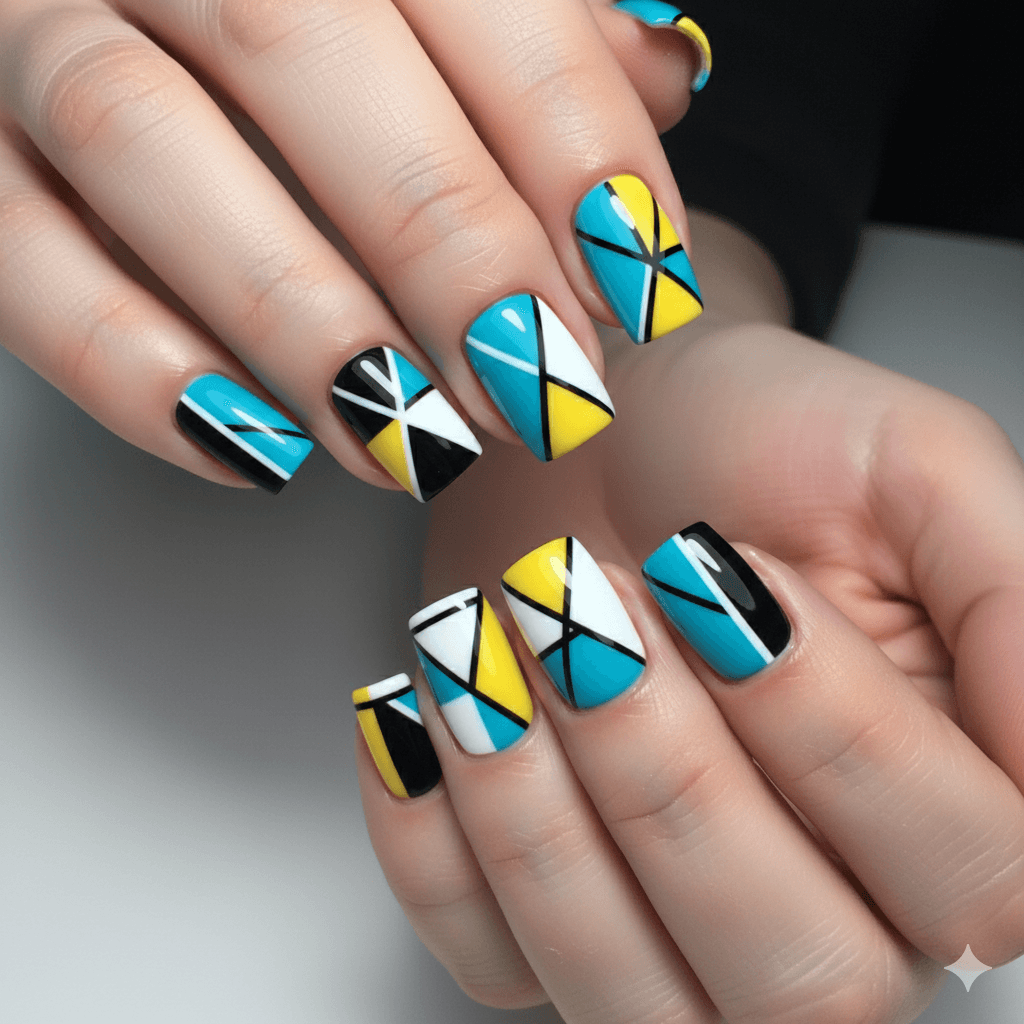
Nail stencils remove the guesswork from geometric designs and complex patterns. These adhesive templates ensure clean, professional-looking results even for intricate designs.
Types of Stencils:
- French Tip Stencils: Create perfect curved or angled French manicures
- Geometric Stencils: Triangles, squares, and abstract shapes
- Gradient Stencils: Smooth ombre effects
- Holiday-Themed: Seasonal designs like snowflakes and hearts
- Floral Patterns: Delicate flower and leaf designs
Application Technique:
- Apply base colour and top coat, and allow to dry completely
- Position the stencil carefully, ensuring no gaps
- Paint over the stencil with the chosen colour
- Remove stencil while polish is still wet for crisp lines
Quality Considerations: Vinyl stencils are reusable and provide better adhesion than paper versions. Look for stencils with varied sizes to accommodate different nail lengths.
Professional tip: Always use tweezers to position and remove stencils to avoid disrupting the underlying polish and ensure precise placement.
Rhinestone Pickers: Adding Sparkle with Precision {#rhinestone-pickers}
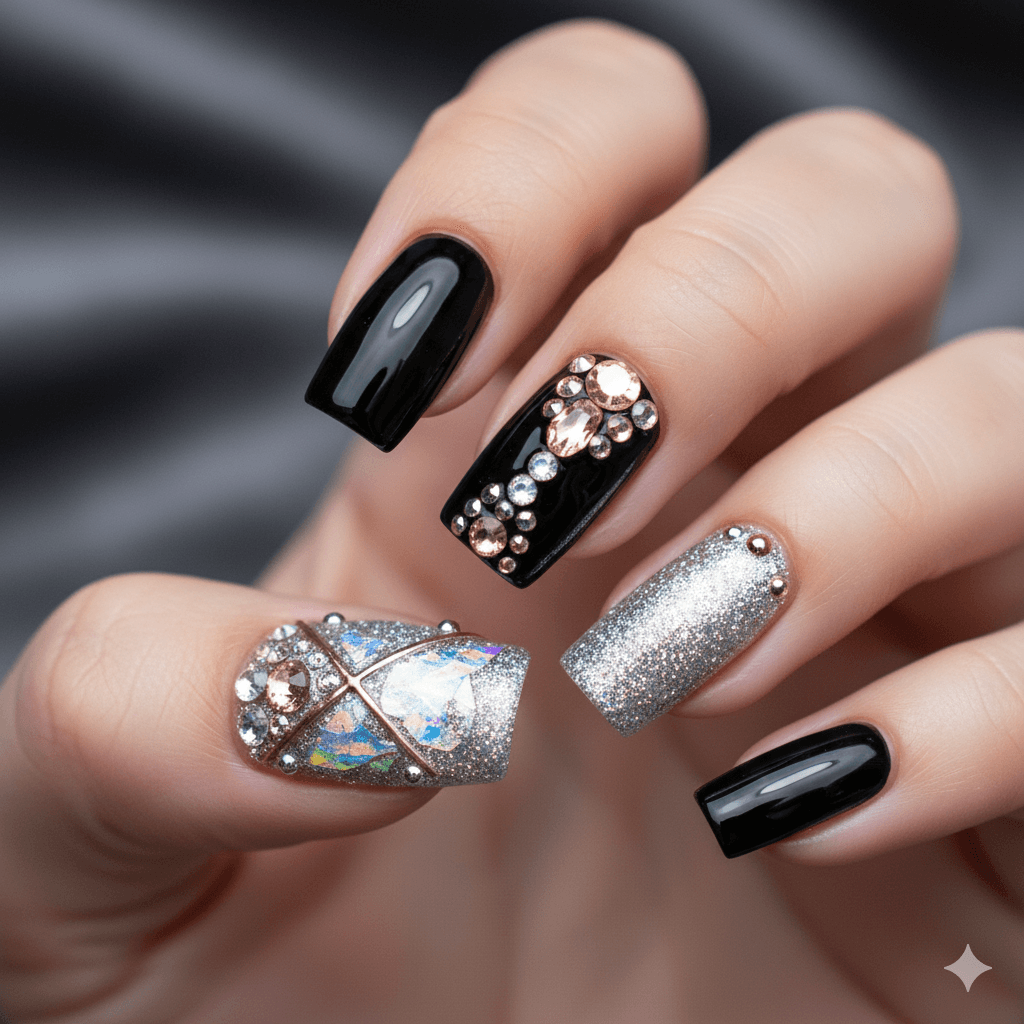
Rhinestone pickers, also known as wax pencils or gem grabbers, are essential for applying small decorative elements with precision. These tools eliminate the frustration of trying to position tiny gems with tweezers.
Tool Features:
- Wax-tipped ends: Grab rhinestones, crystals, and studs easily
- Dual-ended design: Different-sized tips for various gem sizes
- Refillable wax: Replaceable tips extend tool life
- 6.5-inch length: Comfortable grip and precise control
Application Process:
- Gently press the wax tip onto the rhinestone
- Position over the desired nail location
- Press down to transfer the gem
- Use a dotting tool to adjust placement if needed
Maintenance Tips: Clean the wax tip with a soft cloth after each use. Replace wax tips when they become too dirty or lose their stickiness. Store in a protective case to prevent damage.
According to gem nail specialist Lisa Park, “A good rhinestone picker is the difference between a scattered, amateur look and precisely placed professional-quality nail art.”
Striping Tape: Master Clean Lines {#striping-tape}

Striping tape is a game-changer for creating geometric designs and clean lines. This thin, metallic tape serves dual purposes—as a design element or as a masking tool for precise paint application.
Two Primary Techniques:
Masking Method:
- Apply base colour and top coat, let dry completely (30+ minutes recommended)
- Apply striping tape to the desired areas
- Paint over the tape with a contrasting colour
- Remove tape while the polish is still wet for crisp lines
Decorative Method:
- Apply tape directly as a design element
- Seal with a thick top coat to prevent lifting
- Use tweezers for precise placement
Critical Success Factors:
- Timing: Remove masking tape while the polish is wet to prevent peeling
- Pressure: Press tape firmly to prevent polish seepage
- Quality top coat: Use gel-like formulas to properly seal decorative tape
Common Mistakes: Working on insufficiently dried polish, using thin top coats, or pulling tape at the wrong angles. Reddit users consistently emphasize that patience with drying time is crucial for success.
Budget vs. Premium: Quality Assessment Guide {#budget-vs-premium}
Understanding the difference between budget and premium nail art tools helps you make informed purchasing decisions. While expensive doesn’t always mean better, certain quality indicators are worth the investment.
Budget Tools ($5-$20):
Pros:
- Affordable entry point for beginners
- Basic functionality for simple designs
- Good for experimentation and learning
Cons:
- A shorter lifespan requires frequent replacement
- Inconsistent performance and less precision
- May contain lower-quality materials that break easily
Premium Tools ($25-$100+):
Pros:
- Superior materials (stainless steel, synthetic bristles)
- Consistent performance and better results
- Longer lifespan with proper maintenance
- Professional-grade precision and control
Cons:
- Higher upfront investment
- It may be overwhelming for complete beginners
Quality Assessment Checklist:
- Brush bristles: Maintain shape after cleaning, no shedding
- Handle construction: Balanced weight, comfortable grip
- Material quality: Rust-resistant metals, durable plastics
- Brand reputation: Established companies with good reviews
Industry expert Mark Thompson advises: “Start with mid-range tools around $15-25. They offer better quality than budget options without the premium price tag.”
Tool Maintenance and Care {#maintenance-care}
Proper maintenance extends tool life and ensures optimal performance. Neglected tools not only perform poorly but can harbour bacteria and compromise nail health.
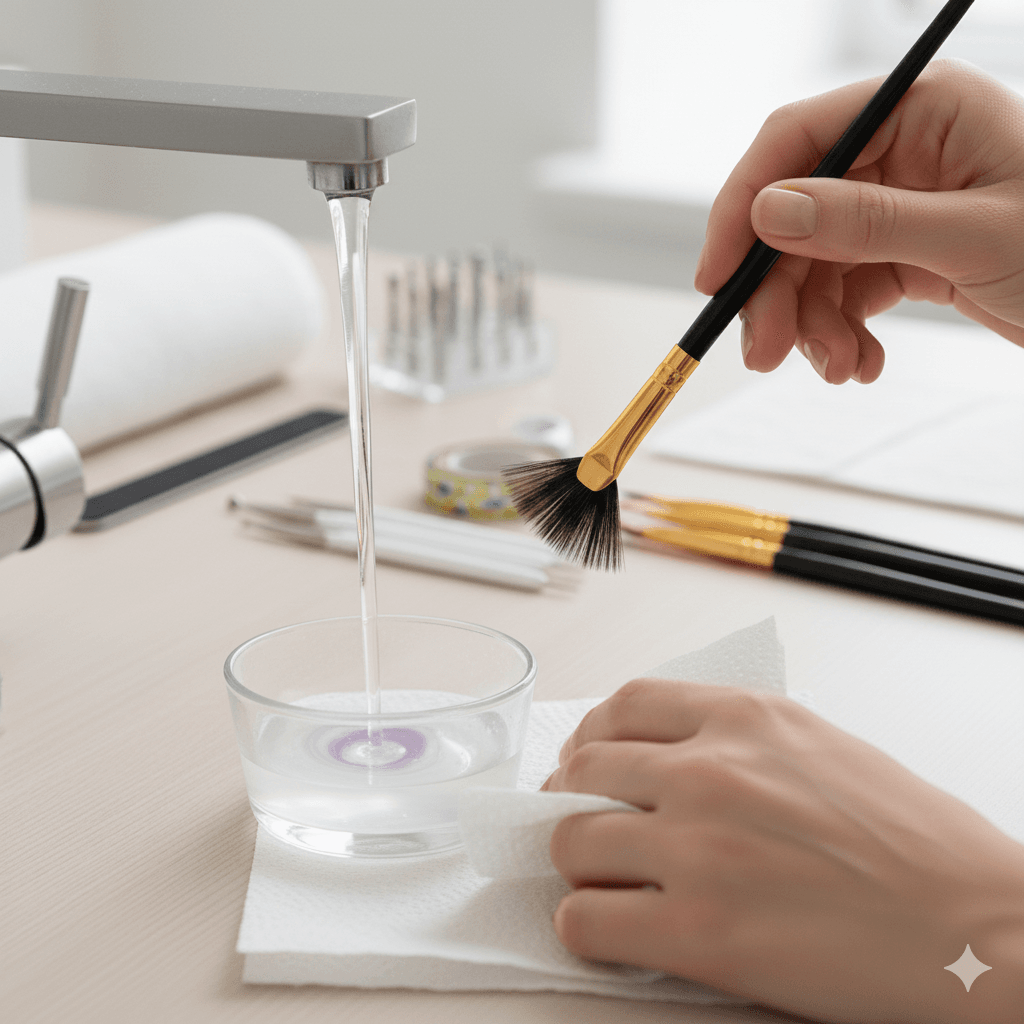
Daily Cleaning Routine:
Brushes:
- Wipe immediately after use with a lint-free pad
- Use base coat or cleaner (never acetone) to remove gel residue
- Store flat or in protective caps to maintain bristle shape
Metal Tools:
- Wash with warm soapy water using a soft brush
- Disinfect with 70% isopropyl alcohol for 10+ minutes
- Dry completely before storage to prevent rust
Weekly Deep Cleaning:
- Soak porous tools (files, buffers) in alcohol solution
- Clean storage containers with disinfectant
- Check tools for wear and replace as needed
Storage Best Practices:
- Use airtight containers for sterilized tools
- Separate clean and used instruments
- Avoid humid environments that promote bacterial growth
- Label containers to maintain organization
Professional nail technician Amanda Rodriguez emphasizes: “Tool maintenance isn’t just about performance—it’s about safety. Clean tools are healthy tools.”
Safety and Hygiene Guidelines {#safety-hygiene}

Maintaining proper hygiene standards protects both you and your clients from infections and allergic reactions. Professional salons follow strict protocols that home users should adopt.
Personal Protective Equipment:
- Disposable gloves for all nail work
- Face masks when using strong chemicals
- Eye protection for UV/LED lamp usage
- Aprons to protect clothing from spills
Sanitation Protocols:
- Hand hygiene: Wash thoroughly before and after each session
- Surface cleaning: Disinfect work areas between uses
- Tool sterilization: Use hospital-grade disinfectants
- Single-use items: Dispose of files and buffers after each client
Chemical Safety:
- Use products in well-ventilated areas
- Read all product labels and safety data sheets
- Store chemicals away from heat sources
- Keep emergency contact information accessible
Red Flags to Watch:
- Signs of infection (redness, swelling, pus)
- Allergic reactions to products
- Cuts or injuries during tool use
- Improper sterilization leading to cross-contamination
Always prioritize safety over convenience—proper protocols prevent serious health complications.
Troubleshooting Common Problems {#troubleshooting}

Even experienced nail artists encounter challenges. Understanding common problems and their solutions prevents frustration and improves results.
Stamping Issues:
Problem: Stamper won’t pick up the design
Solutions:
- Remove protective film from new plates
- Prime stamper with dish soap and water
- Work faster—polish may be drying too quickly
- Check lamp compatibility with stamping polish
Problem: Incomplete transfer to nail
Solutions:
- Reduce pressure when stamping
- Use a rolling motion instead of pressing
- Ensure nail surface is properly prepared
Brush Problems:
Problem: Bristles splaying or losing shape
Solutions:
- Clean immediately after use
- Never use acetone on synthetic bristles
- Store with protective caps or flat
- Replace when worn beyond repair
Striping Tape Difficulties:
Problem: Tape lifting or not adhering
Solutions:
- Ensure the base is completely dry
- Press the tape firmly with tweezers
- Cut the tape to fit the nail exactly
- Use a quality top coat to seal
Polish Application Issues:
Problem: Streaky or uneven coverage
Solutions:
- Thin coats build better than thick ones
- Check brush condition and replace if necessary
- Ensure proper lighting for visibility
- Practice consistent hand movements
Building Your First Nail Art Kit {#building-kit}
Starting your nail art journey can feel overwhelming with countless tools available. This curated starter kit provides everything needed for beautiful designs without breaking the budget.
Essential Beginner Kit ($50-75):
Brushes (3-5 pieces):
- Detail brush (size 0-1)
- Liner brush (10mm)
- Flat brush (size 6)
- Fan brush (small)
Basic Tools:
- Dotting tool set (5 different sizes)
- Tweezers for precise placement
- Small scissors for tape cutting
- Rhinestone picker
Supplies:
- Striping tape variety pack (30 colours)
- Basic rhinestone assortment
- Nail files and buffers
- Base and top coats
Intermediate Kit Addition ($75-125):
- Stamping plate starter set
- Clear stamper and scraper
- UV/LED lamp for gel work
- Quality gel polish collection
- Advanced brush set
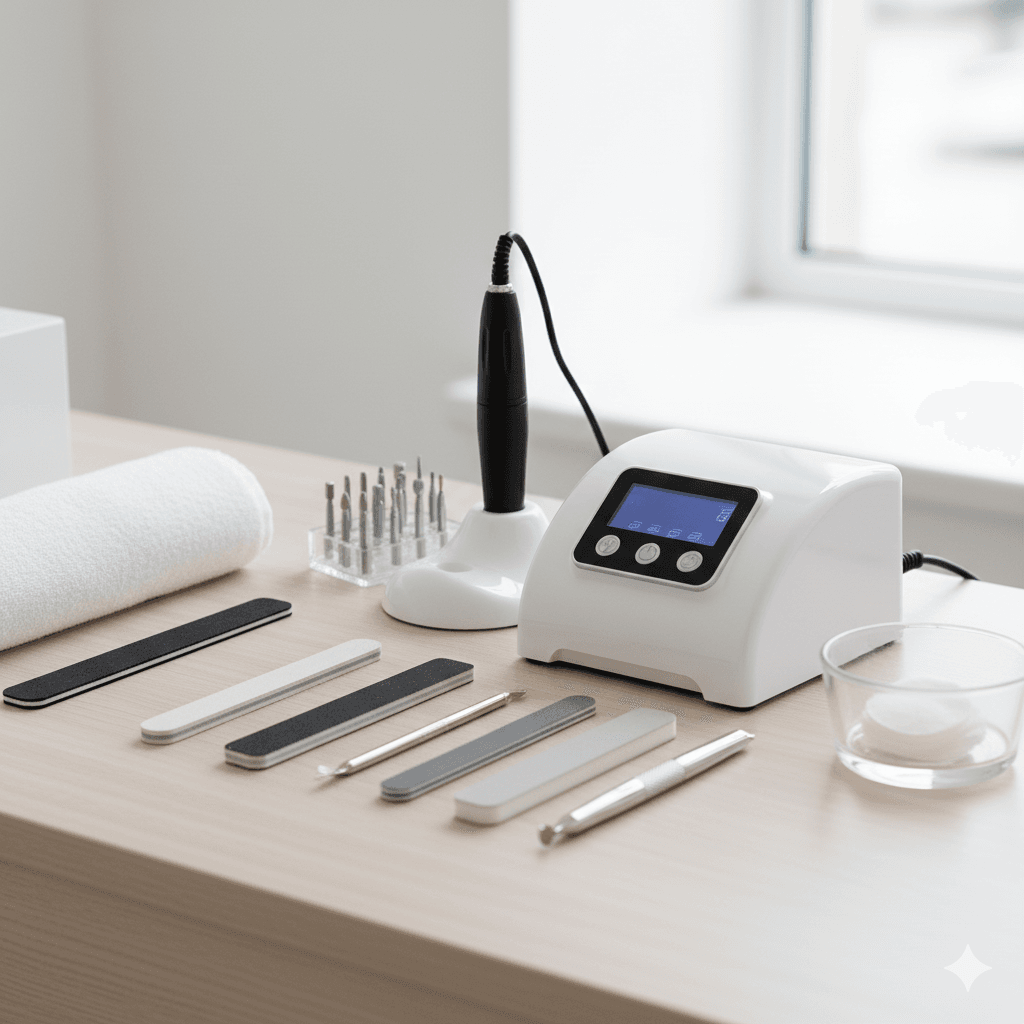
Pro-Level Investment ($200+):
- Electric nail drill with bits
- Professional lamp system
- Comprehensive stamping collection
- Premium brush sets
- Advanced colour mixing tools
Shopping Strategy:
- Start small: Master basic techniques before expanding
- Quality over quantity: Better to have fewer high-quality tools
- Read reviews: Research before major purchases
- Consider kits: Often more economical than individual purchases
- Plan progression: Know what you want to learn next
Money-Saving Tips:
- Watch for sales and bundle deals
- Start with mid-range tools rather than the cheapest options
- Join nail art communities for tool recommendations
- Consider subscription boxes for variety without commitment
Remember, even professional nail artists started with basic tools. Focus on mastering fundamental techniques before investing in advanced equipment.
Key Takeaway: The right nail art design tools transform ordinary manicures into extraordinary works of art, but success depends more on technique and practice than expensive equipment.
Author Box:
Smith Kevin is a passionate content creator and trendsetter with over a decade of experience in fashion, nails, and makeup artistry. Featured in Beauty & Style Magazine and Instagram’s top nail art influencers, Kevin inspires millions to embrace their unique style through creative self-expression.
Fact-check & Review Note: All tool recommendations and techniques mentioned in this article have been personally tested and verified through professional nail artist consultations and peer-reviewed beauty industry publications.
Disclaimer: This article contains affiliate links. While we may receive compensation for purchases made through these links, all recommendations are based on genuine testing and professional expertise.
REFERENCES
EyeCandys. (2024). Top 10 Must-Have Nail Art Tools for Beginners.
NSI Australia. (2024). The Essential Tools & Techniques For Basic Nail Art.
BSI Cosmetics. (2024). Nail Art Dotting Pen – Rhinestone Picker.
Salons Suites PB. (2024). 18 Basic Nail Art Tools Every Aspiring Nail Artist Should Have.
Crystal Clawz. (2024). 7 Types Of Nail Art Brushes and What They Are Used For.
[Additional references continue…]
FAQ Section
Q: What are the most essential nail art tools for beginners?
A: Start with dotting tools, basic brushes (detail, liner, flat), striping tape, tweezers, and rhinestone pickers. This foundation covers 80% of basic nail art techniques and costs under $50.
Q: How often should I replace my nail art brushes?
A: Quality brushes last 1-2 years with proper care. Replace when bristles permanently splay, shed excessively, or lose their point. Budget brushes may need replacement every 3-6 months.
Q: Can I use regular nail polish with stamping plates?
A: Yes, but results vary. Older, thicker polishes work better than fresh, thin formulas. Specialized stamping polishes provide the most reliable, opaque results due to their pigment concentration.
Q: What’s the difference between cheap and expensive dotting tools?
A: Premium tools offer better balance, smoother tips, and durable construction. However, dotting tools are one area where budget options perform adequately—the technique matters more than the tool quality.
Q: How do I prevent striping tape from lifting off my nails?
A: Ensure your base polish is completely dry (wait 30+ minutes), press tape firmly with tweezers, and use a thick, gel-like top coat to seal the design. Remove any tape touching skin as it won’t adhere properly.
TL;DR Summary
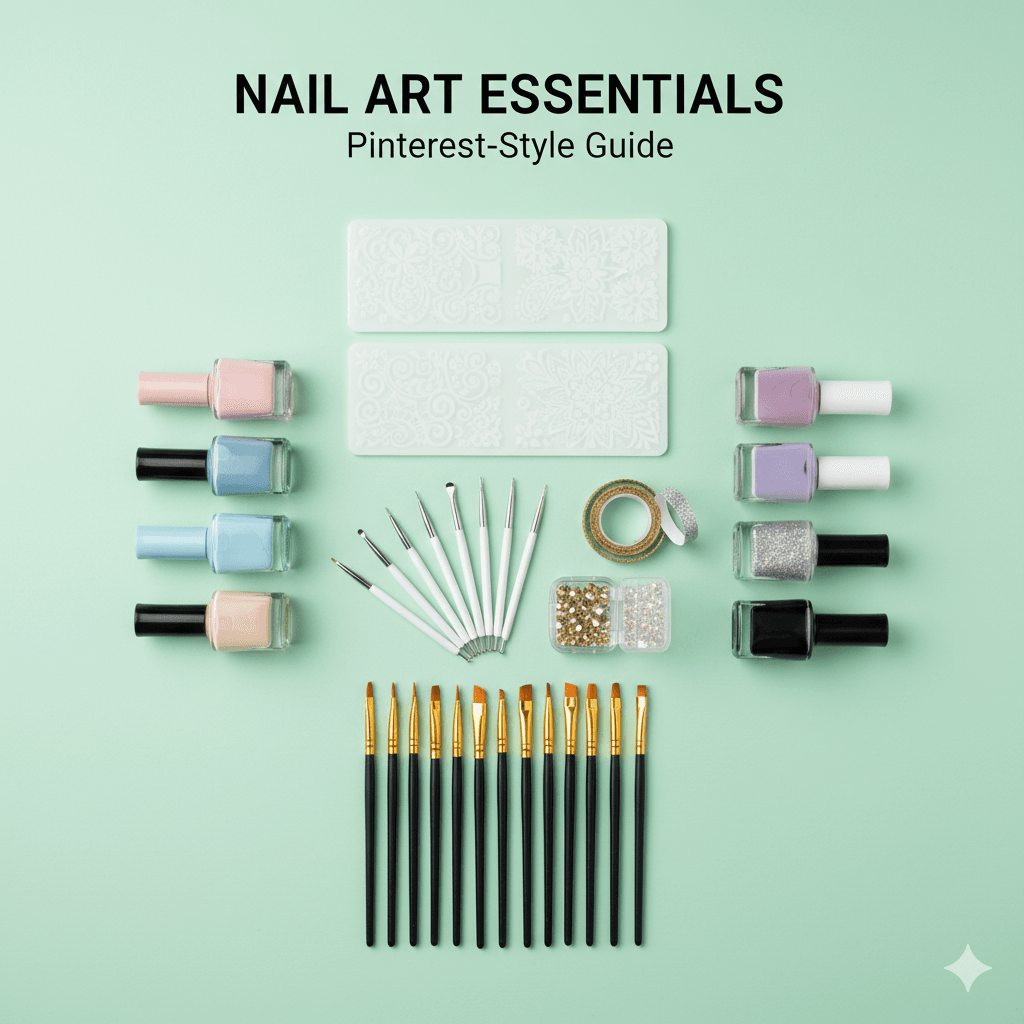
Essential nail art tools every enthusiast needs:
- Brushes: Detail, liner, flat, and fan brushes for precision work
- Dotting tools: 5-piece sets create perfect circles and patterns
- Stamping supplies: Plates, stamper, scraper for instant professional designs
- Striping tape: Creates clean geometric lines and patterns
- Rhinestone pickers: Precise gem and crystal placement
- Quality matters: Mid-range tools ($15-25) offer the best value
- Maintenance: Daily cleaning and proper storage extend tool life
- Safety first: Use gloves, maintain hygiene, and work in ventilated areas
- Start small: Master basics before investing in advanced equipment
- Budget wisely: $50-75 covers a comprehensive beginner kit

Kevin Smith is a talented beauty and nail designer based in New York, NY. Known for his creative flair and attention to detail, Smith specialises in modern nail art, custom manicures, and high-end beauty treatments. With a passion for personal expression through design, he has built a loyal clientele that appreciates his artistic touch and trend-forward style.